Schematic to Panel Layout and Wiring
Draw the schematic once and carry it all the way to the panel. In SchematicStudio the panel layout, cable schedule, terminal strips, PLC I/O schedule and bill of materials all come from the same drawing, so they stay in step when the design changes.
Panel layout and the schedules are part of the Pro plan. Every new account starts with 30 days of Pro, with no card required.
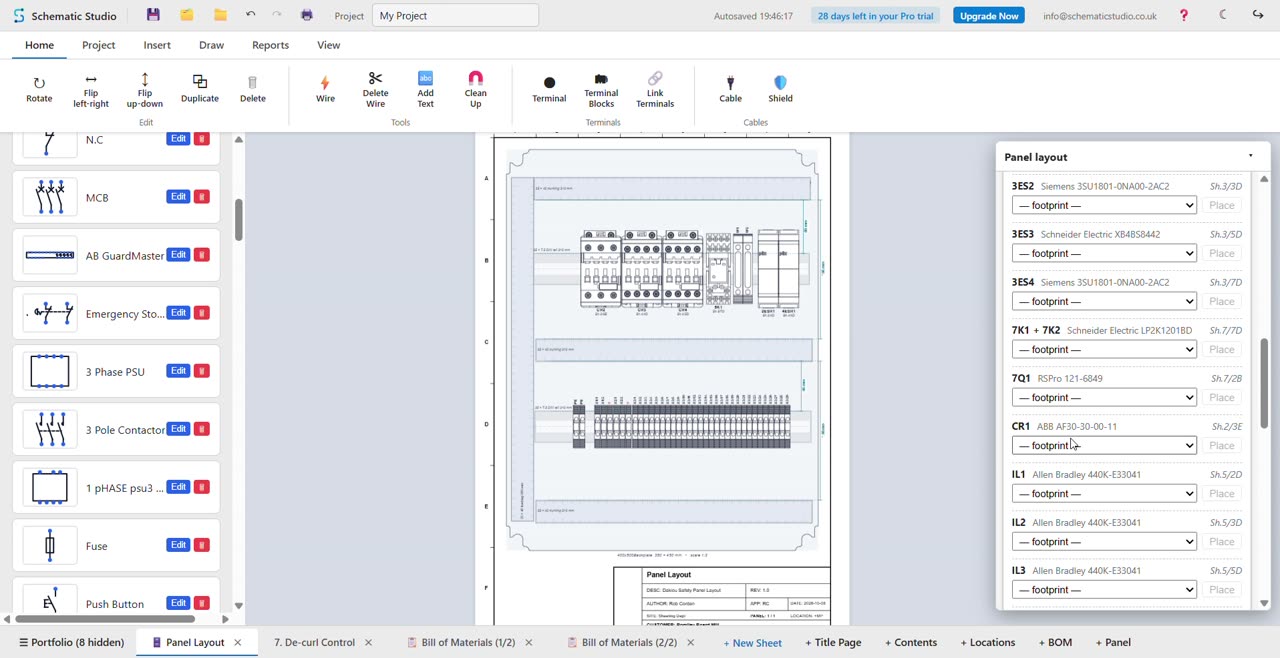
From drawing to panel, step by step
- Draw the schematic. Place components and wire them across as many sheets as the job needs. Part designators and wire numbers follow the sheet order.
- Give parts their details. Pick make, model and part number from your parts library, so the BOM and the panel layout know what each part is.
- Lay out the backplate. Import DXF drawings of the backplate and of each part, place the schematic parts on the plate, clip them onto DIN rails and run trunking.
- Check it. Overlaps are flagged, dimension lines follow the parts when they move, and the layout lists what has not been placed yet.
- Produce the schedules. Cable schedule, terminal strips, PLC I/O schedule and BOM are generated from the drawing.
Panel layout to scale
Linked to the schematic
Each placed part shows its designator and schematic reference. Right-click a part in the schematic to go to it in the layout, and the other way round.
DIN rails and trunking
Terminal strips and devices clip onto rails and butt up against their neighbours. Rails and trunking can be copied and pasted.
Filter by location
Show only the parts for one location, so a large project can be laid out one enclosure at a time.
Extra items in the BOM
Add items that are not in the schematic, such as trunking or a DXF part, and have them counted in the bill of materials.
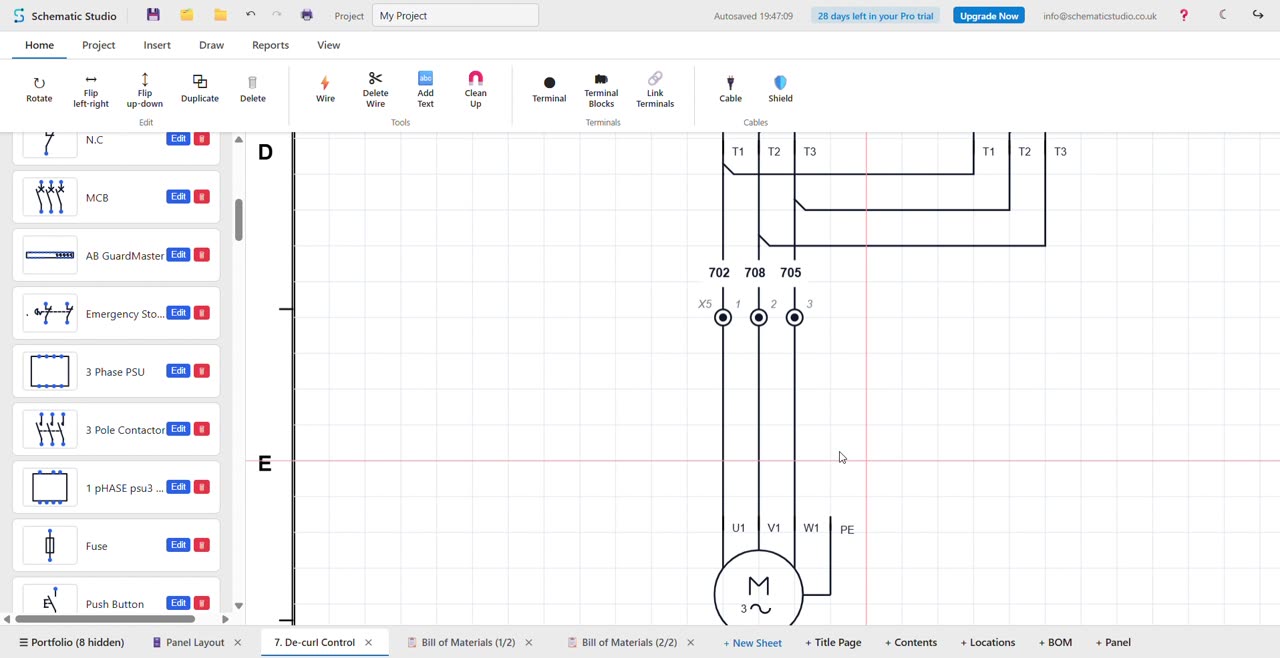
Wiring: cables, terminals and I/O
Cable schedules
Group wires into cables, set core counts, sizes and colours, and keep every core assigned. Save cables to a library so you never define the same one twice.
Terminal strips
Terminal blocks are built from the terminal markers across the whole project, with cross-referencing tables for wires.
PLC I/O schedule
Every input and output of your PLC modules with its address, function, wire and what it connects to, as a table, a CSV or a page in the drawing set.
Bill of materials
Generated live and grouped by designator and model number, with what has been placed in the panel recorded alongside.
Common questions
How do I go from a schematic to a panel layout?
Draw the schematic, then add a Panel Layout sheet. Import DXF drawings of the backplate and the parts, place each schematic part on the plate, and mount them on DIN rails. Every placed part stays linked to its schematic component.
Does the panel layout stay linked to the schematic?
Yes. Each placed part shows its designator and the schematic sheet reference, and you can jump from a part in the schematic to the same part in the layout and back.
Can I get a cable schedule from my schematic?
Yes. Group wires into cables, set the core count, size and colours, and assign every core. The cable details are written on the drawing and kept in sync.
Can I generate terminal strips?
Yes. Place terminal markers in the schematic and the terminal block generator assembles the strips for the whole project.
Can I produce a PLC I/O schedule?
Yes. The schedule lists every input and output of your PLC modules with address, type, function, wire and destination, spares included. Save it as a CSV, print it or add it to the drawing set.
Which plan includes panel layout?
Panel layout, cable management and the PLC I/O schedule are part of the Pro plan. Every new account gets 30 days of Pro with no card required, and the Free plan covers up to 2 schematic sheets per project.
Try it on your own drawing
Every new account gets 30 days of full Pro access with no card required, then you can carry on with the Free plan.